

So you want to “get into hacking”… but you also like your clean criminal record.
Good. That mindset is exactly where real ethical hackers start.
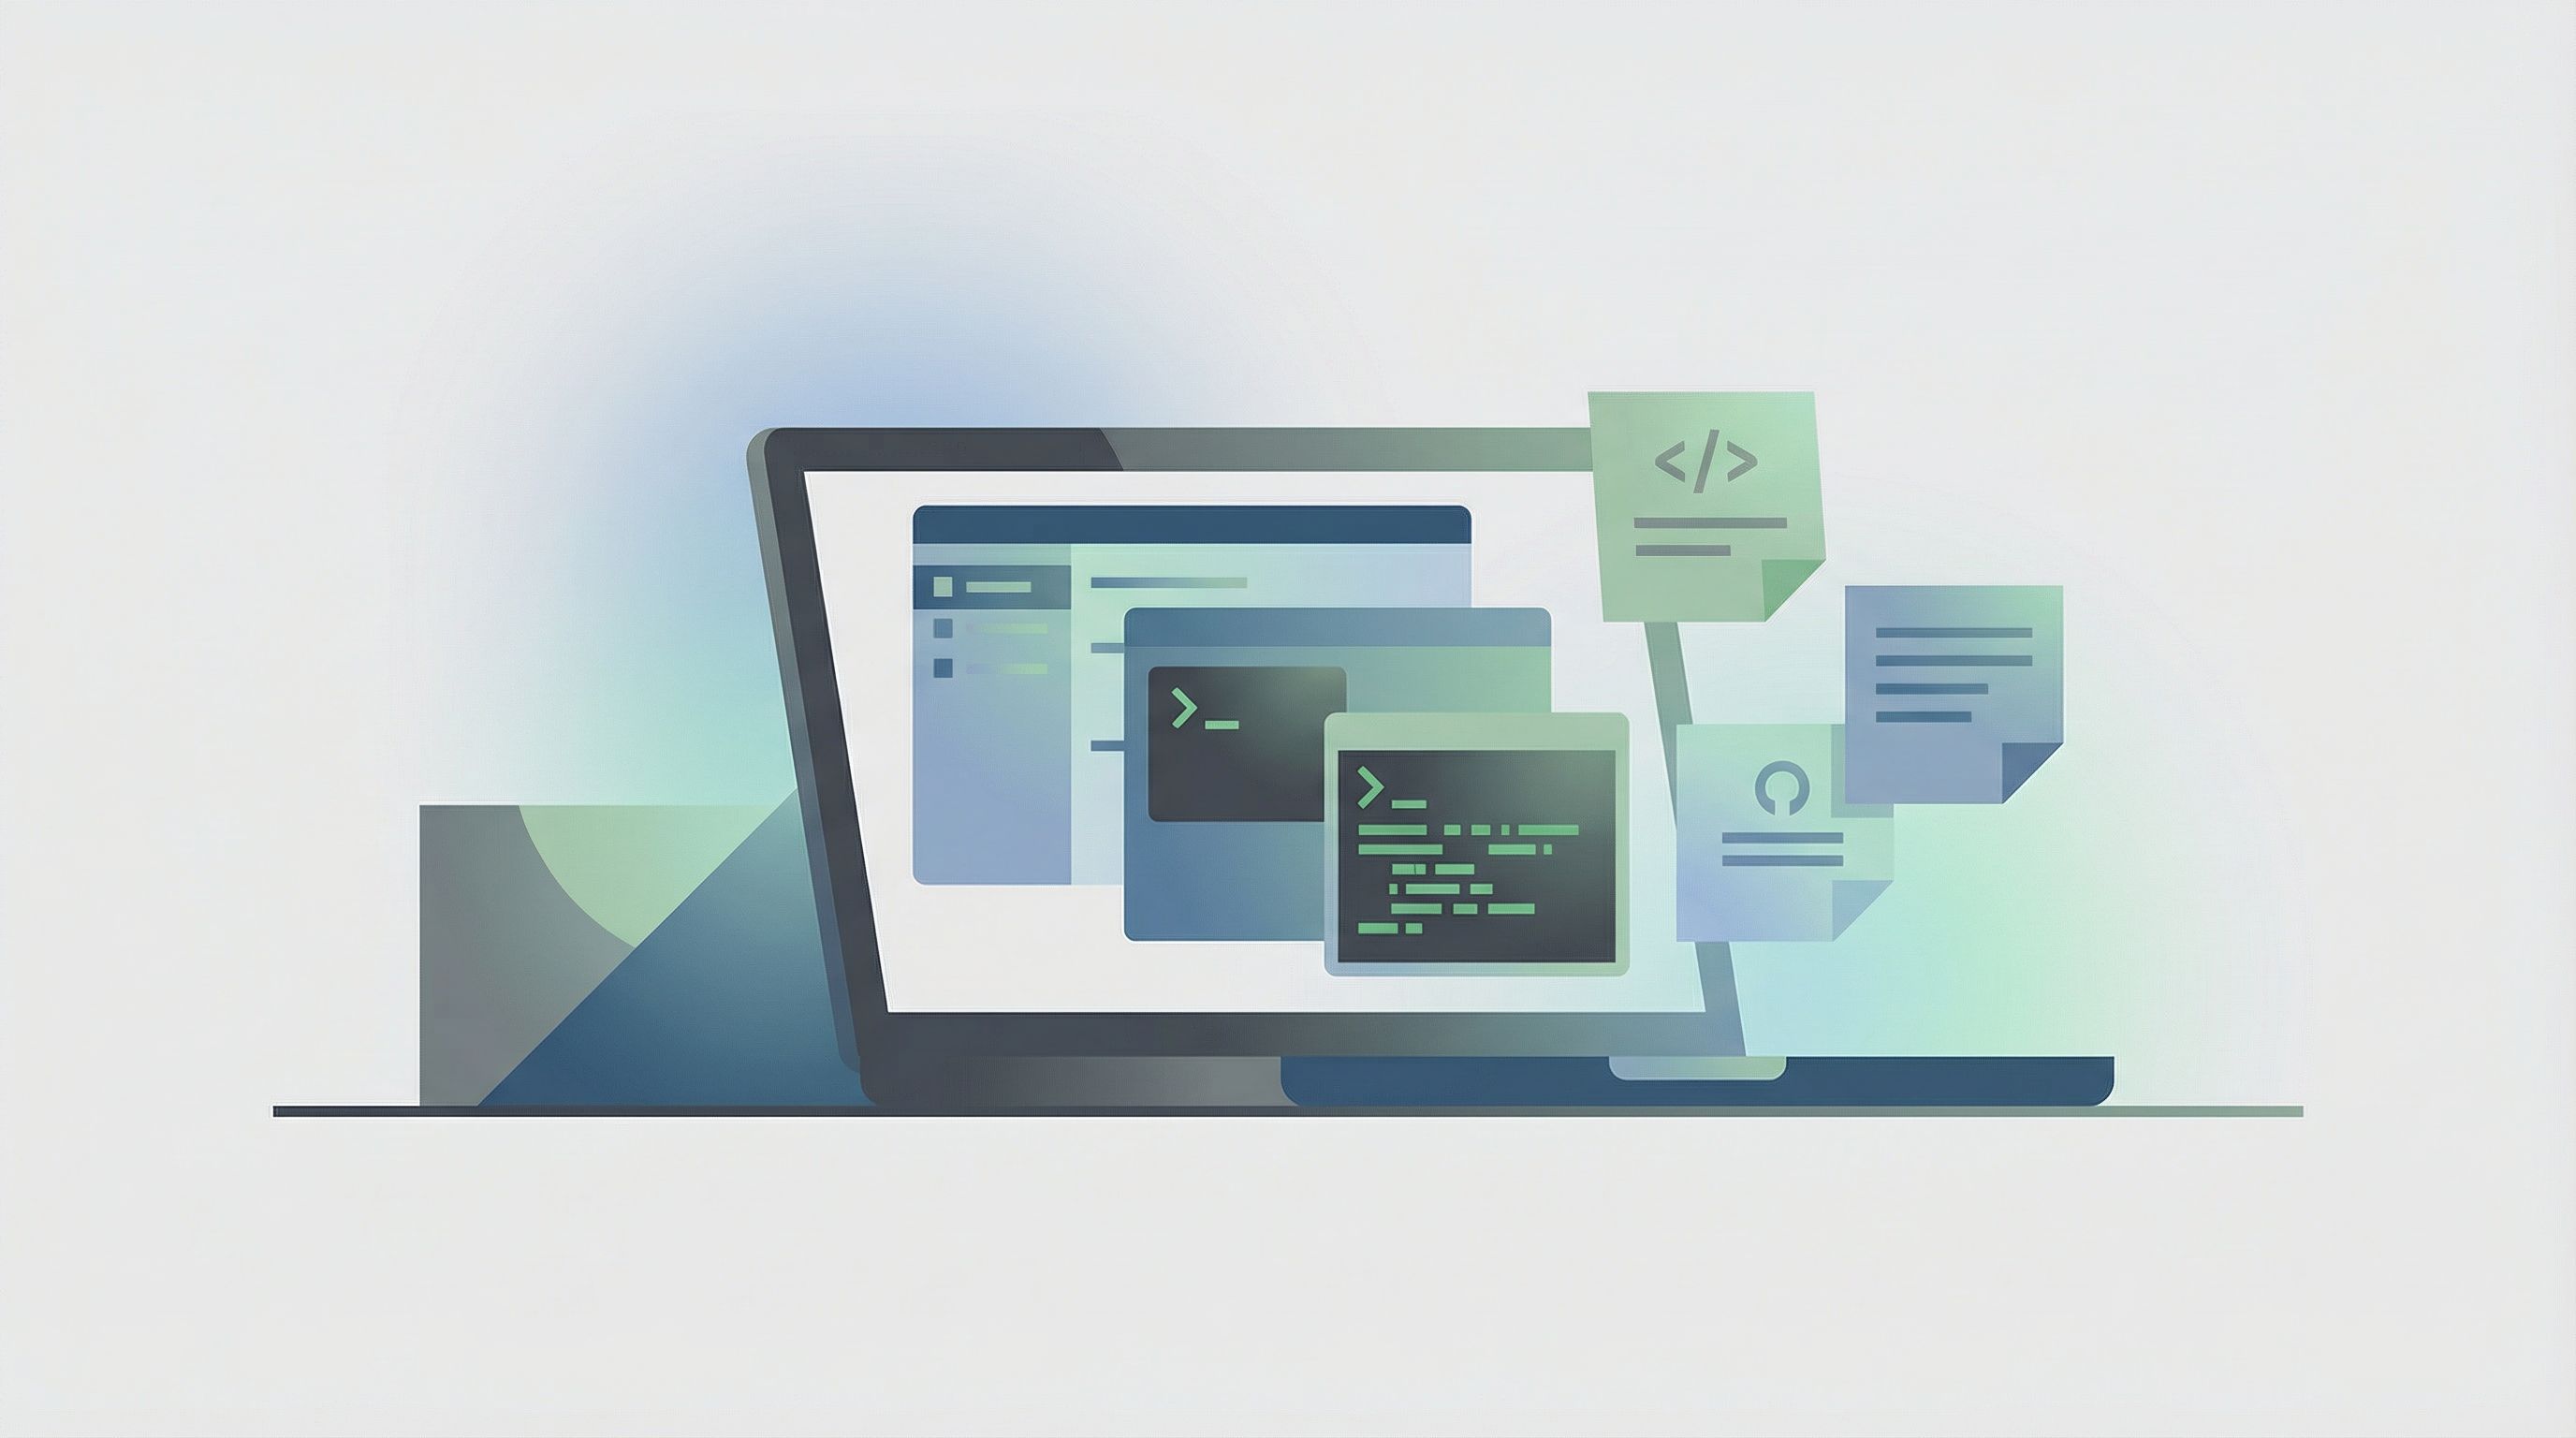
This guide will walk you from zero to script kiddie with a safe, legal home lab where you can practice hacking skills without touching anyone else’s systems. We’ll keep it beginner‑friendly, hands‑on, and focused on tools you can use right away.
Along the way, I’ll point you to resources from Techno-Guy Tech Tutorials & Resources to help you go deeper into ethical hacking, coding, and security.
Why You Need a Lab Before You Touch Any Tools
Let’s clear something up:
If you’re running exploits against machines you don’t own or don’t have explicit permission to test, you’re not “learning” — you’re committing a crime.
A proper hacking lab gives you:
- Legal safety – You’re attacking your own machines or explicitly allowed targets.
- Room to break things – You want to crash services, misconfigure firewalls, and lock yourself out. That’s how you learn.
- Repeatable practice – You can reset vulnerable machines, try again, and track your progress.
- Real-world skills – Labs simulate actual misconfigurations and vulnerabilities used in the wild.
If you’ve ever watched a YouTube hacking tutorial and thought, “Where do I actually do this?” — this post is your step-by-step answer.
What You’ll Build (High-Level Overview)
By the end of this post, you’ll know how to set up:
- A host machine (your main PC or laptop).
- A virtualization platform (like VirtualBox or VMware Workstation Player).
- A Kali Linux virtual machine (your attacking box).
- One or more vulnerable machines (like Metasploitable2, OWASP Broken Web Applications, or Damn Vulnerable Web Application).
- A safe internal network where all this chaos lives — completely isolated from your home network and the public internet.
All of this is 100% free and totally legal when done right.
If you need extra tutorials on Linux basics, scripting, or web app security, you’ll find beginner-friendly guides and resources on Techno-Guy Tech Tutorials & Resources.
Step 1: Check Your Hardware (Can Your PC Handle This?)
Virtual machines (VMs) are like computers inside your computer. Running several at once needs a bit of horsepower.
Minimum setup for a smooth experience:
- CPU: 4 cores (modern Intel or AMD)
- RAM: 8 GB (16 GB is much better)
- Storage: At least 80–100 GB free
- Virtualization support: Intel VT-x or AMD-V enabled in BIOS/UEFI
Quick hardware checklist
Check RAM and CPU
- On Windows:
Ctrl + Shift + Esc→ Performance tab. - On Linux:
htoporlscpu.
- On Windows:
Check virtualization is enabled
- On Windows: Task Manager → Performance → see if Virtualization: Enabled.
- If disabled, reboot into BIOS/UEFI and enable Intel VT-x / AMD-V.
If your machine is weaker than this, don’t panic — you can still:
- Run fewer VMs at a time.
- Use lighter Linux distros.
- Explore online labs like TryHackMe or Hack The Box that run targets in the cloud.
For tips on choosing lightweight distros or tuning performance, keep an eye on Techno-Guy Tech Tutorials & Resources — we regularly share optimization tricks for low-spec setups.
Step 2: Pick Your Virtualization Platform
You need something to create and manage your virtual machines.
Popular free options:
- VirtualBox (Windows, Linux, macOS)
- Free, open source, easy to use.
- Great for beginners.
- VMware Workstation Player (Windows, Linux)
- Free for personal use.
- Often a bit smoother with networking and drivers.
If you’re just starting, VirtualBox is perfectly fine and widely supported in tutorials.
Install VirtualBox (example)
- Go to the VirtualBox download page.
- Download the installer for your OS.
- Run it with default options (include the networking features).
- Reboot if asked.
That’s it — now you’ve got a “lab manager” ready to spawn your hacking playground.
Step 3: Set Up Your Attacker Machine (Kali Linux)
Your main hacking box will usually be Kali Linux, a Debian-based distro packed with security tools.
Download Kali
- Go to the official site: https://www.kali.org/get-kali/
- Under Virtual Machines, download the Kali VMware or Kali VirtualBox image (whichever matches your platform).
- These prebuilt images save you time vs. installing from ISO.
Import Kali into VirtualBox (if you chose VirtualBox)
Open VirtualBox.
Click File → Import Appliance.
Select the
.ovafile you downloaded.Click Next → Import.
After import, select the Kali VM → Settings:
- System → Base Memory: Set to at least 2 GB (2048 MB), preferably 4 GB if you have enough RAM.
- Processor: 2 CPUs if your host has 4+ cores.
- Network: Temporarily leave as NAT; we’ll adjust later.
Start the VM and log in with the default credentials (listed on the Kali download page; they change occasionally, so check there).
Pro tip: First thing after logging into any Linux VM, run
sudo apt update && sudo apt upgrade -yto get latest patches and tools.
If you’re new to Linux, grab some basic terminal and file navigation tutorials from Techno-Guy Tech Tutorials & Resources — it will massively speed up your learning curve.
Step 4: Add Vulnerable Targets (The Fun Part)
Now you need something to attack.
Popular intentionally vulnerable machines include:
- Metasploitable2 – A classic Linux VM full of insecure services.
- OWASP Broken Web Applications – A collection of insecure web apps.
- Damn Vulnerable Web Application (DVWA) – A PHP/MySQL web app you can host on a simple LAMP stack.
- VulnHub – Tons of downloadable vulnerable VMs with CTF-style challenges.
Example: Setting up Metasploitable2
- Download the VM from SourceForge.
- Extract the archive.
- In VirtualBox, click New → choose Linux / Ubuntu (32-bit).
- When it asks for a virtual hard disk, select Use an existing virtual hard disk file and browse to the Metasploitable VMDK.
- Set RAM to ~1 GB.
- For now, set Network to Host-only Adapter (we’ll refine networking in the next step).
When you start Metasploitable2, it will boot to a login prompt. Default credentials are listed on the download page — read them carefully and log in.
Repeat similar steps for any other vulnerable VMs you want.
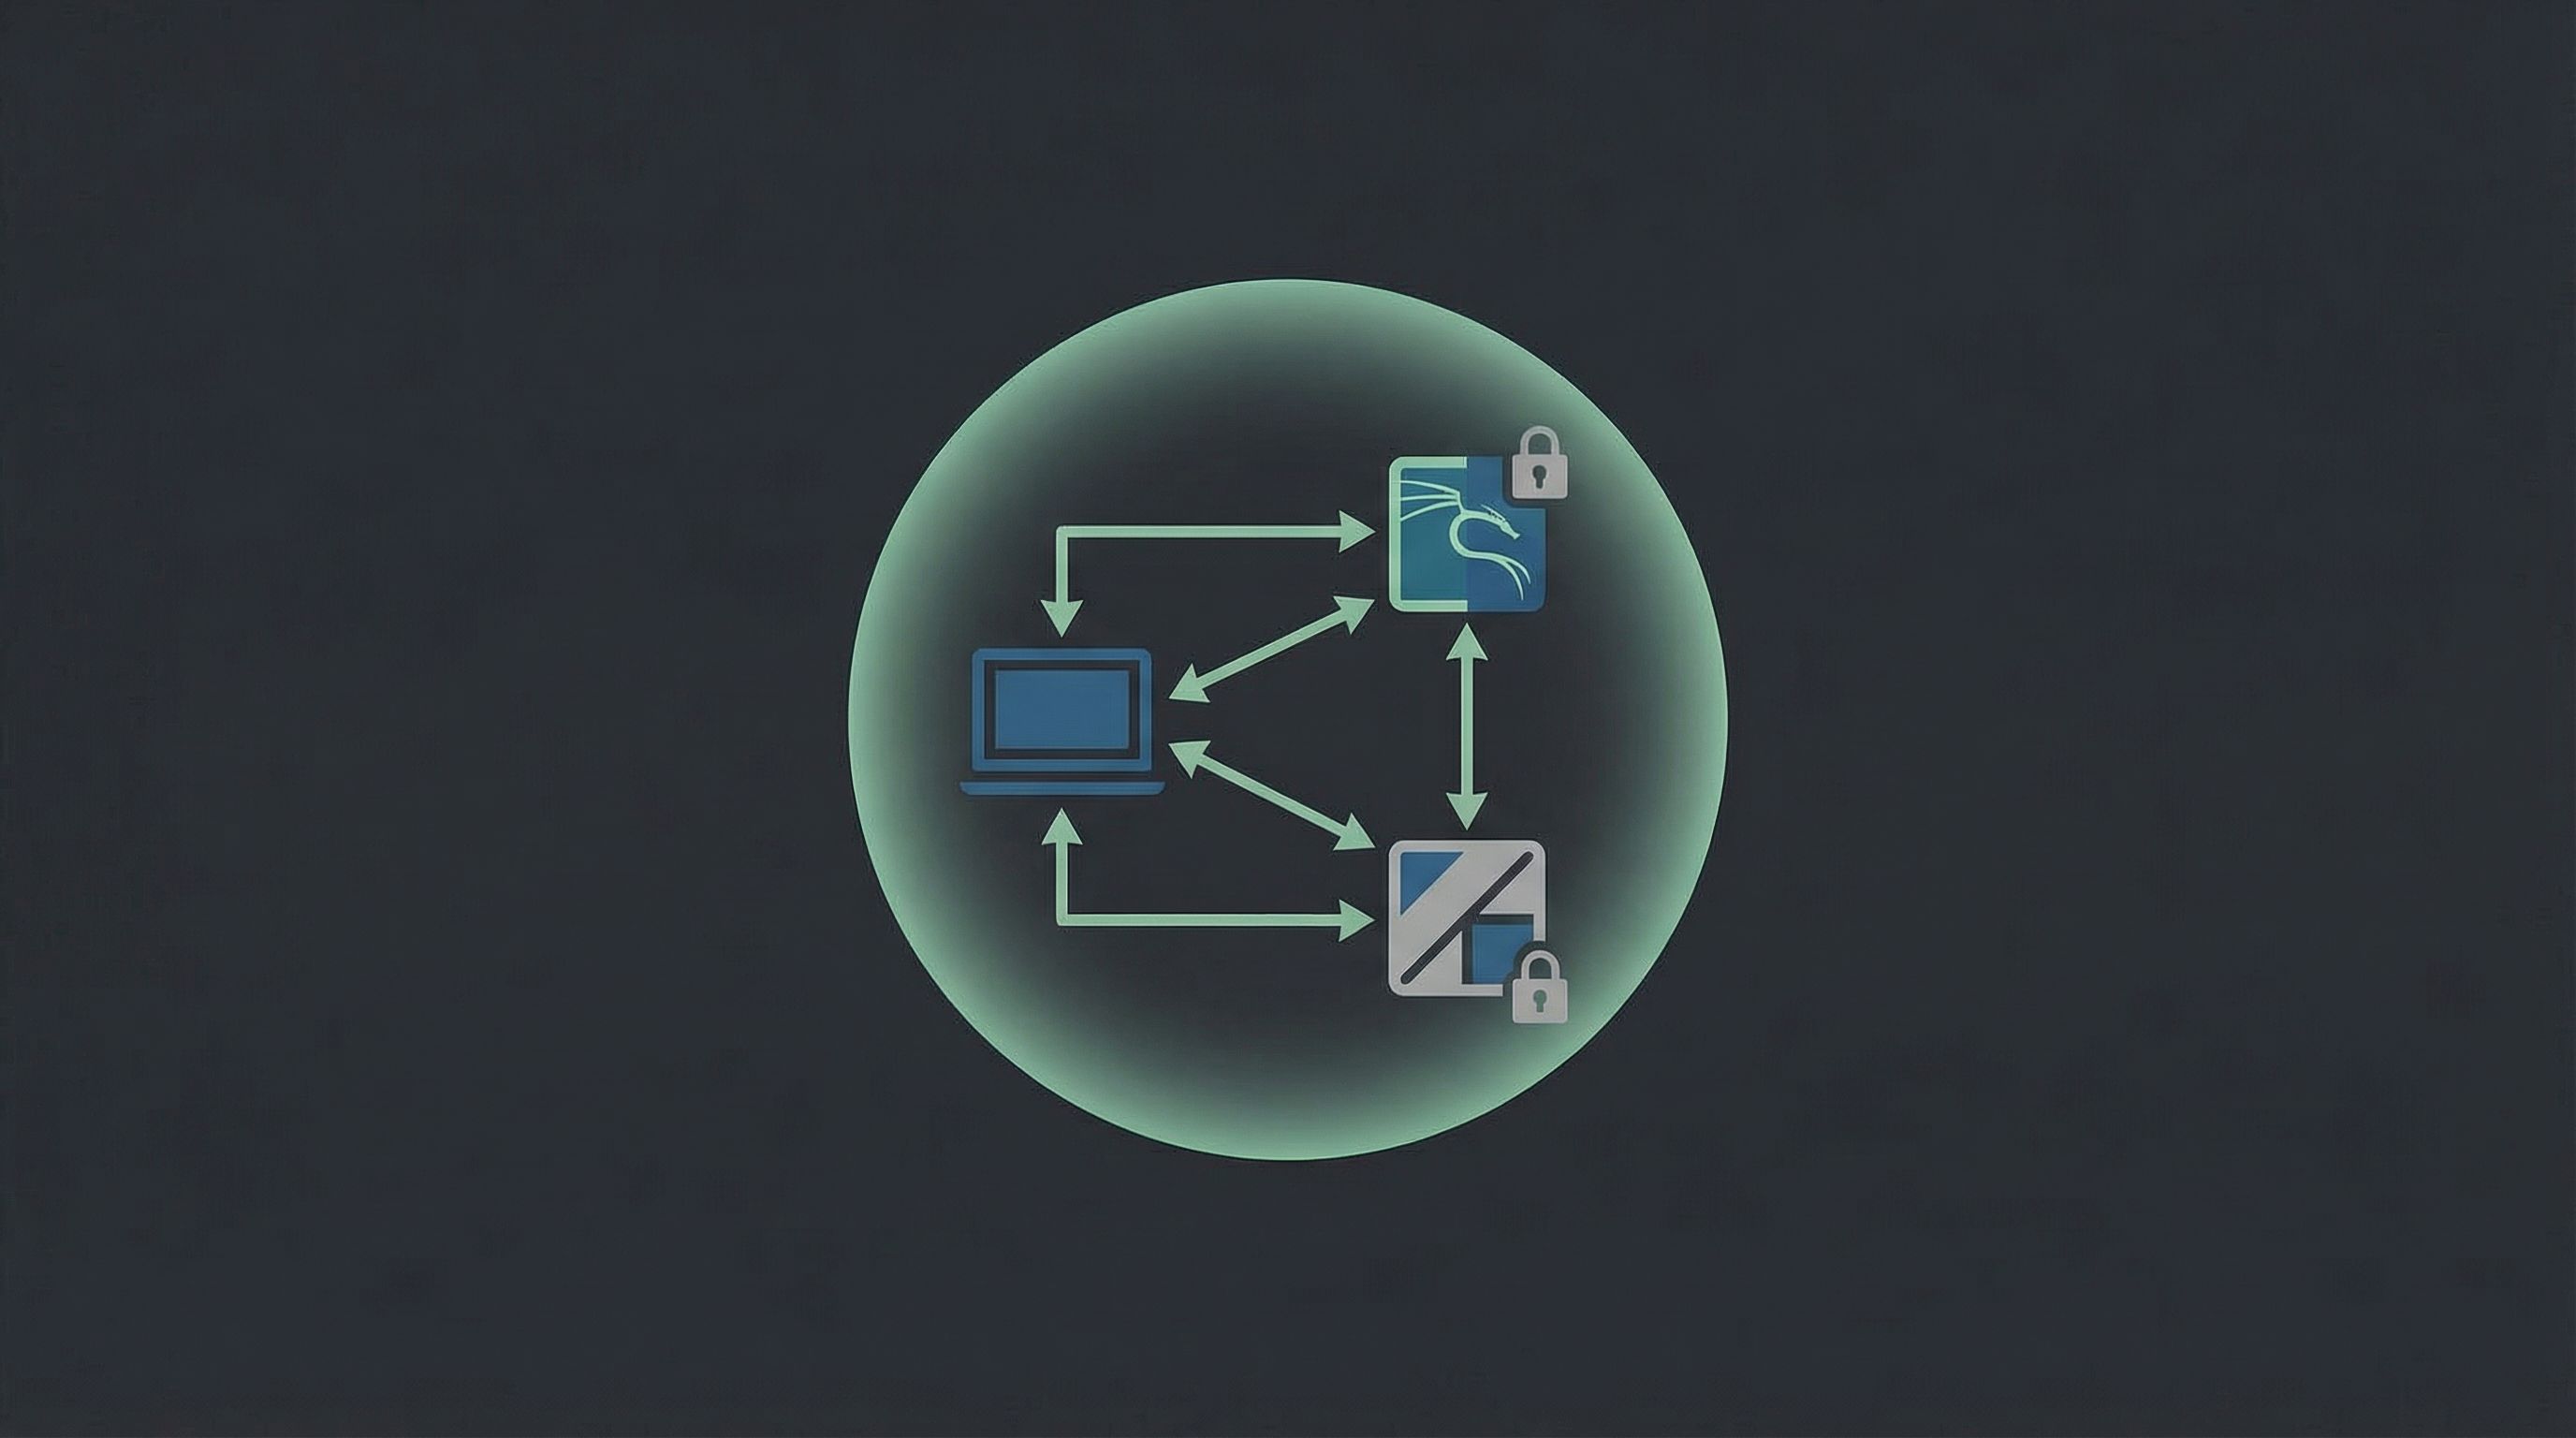
Step 5: Build a Safe, Isolated Lab Network
This part is critical: you want your attacker (Kali) and victims (Metasploitable, DVWA, etc.) to talk to each other — but not accidentally expose those vulnerable services to your home Wi‑Fi or the wider internet.
In VirtualBox, the easiest safe setup is:
- Kali: two network adapters
- Adapter 1: NAT (for internet access: updates, tool installs, docs).
- Adapter 2: Host-only Adapter (for attacking your lab machines).
- Targets (e.g., Metasploitable2): one adapter
- Adapter 1: Host-only Adapter (only accessible from Kali and your host machine).
Configure VirtualBox networking (example)
In VirtualBox, go to File → Tools → Network Manager.
Under Host-only Networks, create a new network (e.g.,
vboxnet0).- Default IP range like
192.168.56.1/24is fine.
- Default IP range like
Edit Kali VM → Settings → Network:
- Adapter 1:
- Enable Network Adapter: Yes
- Attached to: NAT
- Adapter 2:
- Enable Network Adapter: Yes
- Attached to: Host-only Adapter
- Name:
vboxnet0(or whatever you created)
- Adapter 1:
Edit Metasploitable2 VM → Settings → Network:
- Adapter 1:
- Attached to: Host-only Adapter
- Name:
vboxnet0
- Adapter 1:
Boot both VMs. In Kali, run:
ip aYou should see two interfaces with IPs, something like:
eth0(NAT) – e.g.,10.0.2.15eth1(host-only) – e.g.,192.168.56.101
On Metasploitable2, run
ifconfigorip aand note its IP, e.g.,192.168.56.102.From Kali, ping the target:
ping -c 3 192.168.56.102If you get replies, your lab network is alive.
Safety check: Your vulnerable VM should not have a “Bridged Adapter” or direct Wi‑Fi connection. Host-only keeps it inside your lab.
Step 6: Do Your First (Legal) Reconnaissance Scan
Time to actually “hack” something — gently.
1. Find live hosts in your lab
From Kali, run:
ip a
Find the IP of your host-only interface (e.g., 192.168.56.101). Your network is probably 192.168.56.0/24.
Use nmap to find live machines:
sudo nmap -sn 192.168.56.0/24
You should see your Kali box, Metasploitable, and maybe your host.
2. Scan open ports on Metasploitable
Assume Metasploitable’s IP is 192.168.56.102. Run:
sudo nmap -sV 192.168.56.102
This will:
- List open ports.
- Try to identify running services and versions.
You’ll probably see a lot of services: FTP, SSH, Telnet, HTTP, database ports, etc. This is why it’s called Metasploitable.
3. Explore a service in the browser
If port 80 (HTTP) is open:
- Open Firefox (or another browser) in Kali or on your host.
- Go to
http://192.168.56.102.
You’ll see web apps, login pages, maybe some obviously broken stuff. Perfect playground material.
From here, you can start learning:
- Basic web app testing.
- Brute forcing weak logins (against your own lab only).
- Common vulnerabilities like SQL injection, XSS, and command injection.
For beginner-friendly walk-throughs of these attacks (with screenshots and commands), check the hacking series on Techno-Guy Tech Tutorials & Resources.
Step 7: Add Some Structure So You Actually Learn
Randomly running tools might feel cool, but you’ll forget everything in a week.
Build habits early:
Keep a hacking journal
Use a note app, markdown files, or a physical notebook to track:
- Lab topology – What VMs you have, their IPs, and network layout.
- Commands you used –
nmapflags, exploitation commands, payloads. - What worked / what failed – So you can revisit and improve.
- New concepts – Ports, protocols, vulnerability names, CVE IDs.
Start with a simple learning path
- Recon & scanning
ping,nmap, basic port scans.
- Service enumeration
- FTP, SSH, HTTP, SMB — what are they? How do you talk to them?
- Web app basics
- HTTP requests, parameters, forms, cookies.
- Common vulns
- Weak passwords, misconfigurations, outdated software, SQLi, XSS.
You don’t need to master everything at once. The point is to build layers of understanding over time.
You’ll find curated roadmaps, checklists, and ebooks on topics like Linux, Python, and basic pentesting tools inside Techno-Guy Tech Tutorials & Resources to support this journey.
Legal & Ethical Ground Rules (Read This Twice)
If you remember nothing else from this post, remember this section.
You are responsible for how you use these skills. To keep things clean:
- Only hack systems you own or have explicit written permission to test.
- Never scan random IP ranges on the internet “just to see what’s out there.”
- Don’t run tools at school or work without formal authorization, even “for fun.”
- Don’t brag online about exploits against unauthorized targets — that’s evidence.
- Treat your lab like a training gym, not a launching pad for real-world attacks.
If you’re ever unsure whether something is allowed, assume it’s not and ask someone experienced or check your local laws.
Extra Tools & Resources to Level Up
Once your basic lab is running, here are some next steps and tools worth exploring:
- Online training labs
- TryHackMe – Guided, beginner-friendly rooms.
- Hack The Box – More advanced boxes and challenges.
- Practice vulnerable apps
- Learning resources
- Official Kali Linux documentation.
- Security-focused blogs and YouTube channels that walk through CTFs.
- Curated tutorials, free ebooks, and premium Blogger/WordPress themes for building your own tech blog on Techno-Guy Tech Tutorials & Resources.
Pro tip: Start a small blog or notes site where you publish your lab writeups. It’s a great way to:
- Cement what you’ve learned.
- Build a portfolio for future security roles.
- Help other beginners avoid the confusion you had.
Quick Recap
You’ve just walked through how to:
- Understand why a home lab is essential for ethical hacking.
- Check if your hardware can handle multiple VMs.
- Install VirtualBox or VMware.
- Import Kali Linux as your attacker machine.
- Add vulnerable targets like Metasploitable2 or DVWA.
- Configure an isolated host-only network so you’re not exposing anything risky.
- Run your first scans with nmap and start exploring services.
- Stay within legal and ethical boundaries while learning.
That’s a solid “zero to script kiddie” foundation — but done the right way.
Your Next Move
Don’t just close this tab and think, “I’ll set this up someday.”
Pick one tiny step and do it right now:
- Install VirtualBox or VMware.
- Download the Kali VM image.
- Or grab Metasploitable2 and import it.
Once you’ve done one thing, the rest of the setup will feel way less intimidating.
When your lab is up, head over to Techno-Guy Tech Tutorials & Resources for:
- Step-by-step walkthroughs of common attacks (against your own lab).
- Coding and scripting guides to automate your recon.
- Blogging and theme resources so you can document your journey in style.
Your ethical hacking journey doesn’t start with a hoodie and a movie-style terminal. It starts with a carefully built lab, a curious mindset, and the patience to learn by breaking your own stuff.
Fire up that first VM and get to work.